As an Amazon Associate I earn from qualifying purchases. Learn More
Crimped hair was fashionable in the 90s but, the fashion is slowly having a comeback. In those days, a crimper was used to crimp the hair, and now that it is an old hairstyle recurring, most people don’t have the crimper in their hair tools. Do you know that a flat iron can do the job just like a crimper?
This article will guide you on – how to crimp hair with flat iron?
Related: How to Curl Short Hair with Flat Iron
Using Braids for a Tight Crimp
- The secret to having tight crimps is always starting by having your hair dry, straight, and tangle-free hair. If your hair is curvy, it is also good to straighten it first as this will prevent your hair from getting frizz. Apply styling mousse if your hair is too straight or cannot hold curls, and a lightweight is the best.
- Pull all your hair above the ears and hold it into a loose bun leaving behind hair hanging to the shoulders. Start working with the hair hanging to the shoulders.
- Divide the hair into six or more equal sections. The smaller the sections, the tighter the crimp. ½ -1-inch-wide sections wide will give you a tight crimp.
Related: How to Use a Flat Iron
- Braid each section to smaller, tighter braids to get more crimp. If you want more crimp start braiding from the roots but, if not interested in volume start braiding loosely at the middle.
- Apply enough heat protection spray to the braids. Make sure you spray on both sides of the braid. Heat protection spray protects the hair from excessive heat.
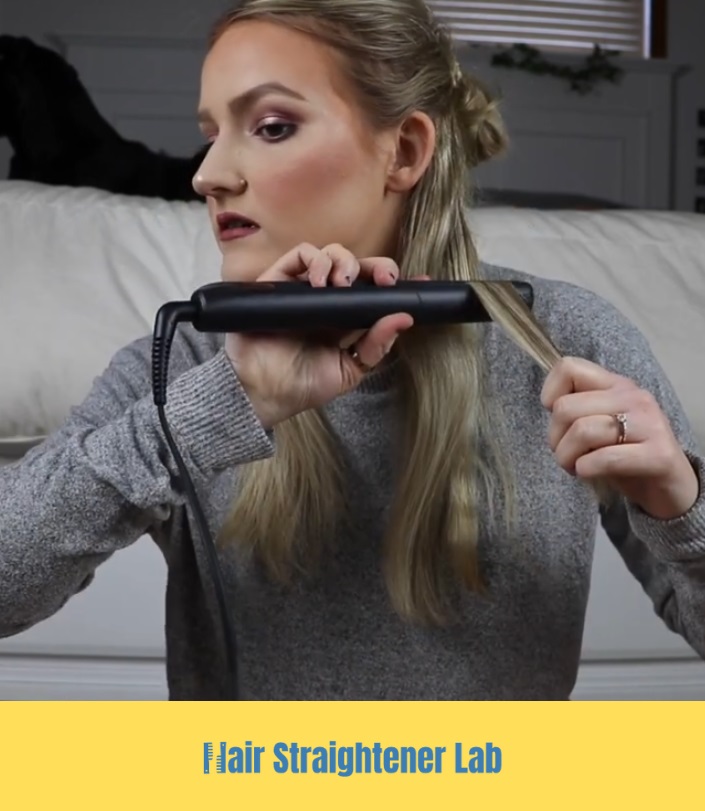
- Run over the flat iron on each braid and press down for a few seconds and then move to the next segment. If you have thick hair you can repeat the process twice.
- Wait for the braids to cool down as you work on the upper bun. Don’t undo the braids before they completely cool off as it will lose the crimp.
Related: The Exact Way To Use A Wet To Dry Flat Iron
Using U Shaped Pins
- Apply a lightweight mousse on your hair that is dry, straight, and tangle-free.
- Twist some hair into a bun above the head and leave some hanging to the shoulders. Work with this hair first.
- Take a small section of hair close to the face about 1 inch, and place it inside the pin.
- Place the curved part to the scalp as close as possible to get more crimp. Wrap the hair in and out the two prongs until the end of the hair and tie an elastic band at the end of u pin to prevent unraveling.
- Do the same to the rest of the hair and apply heat protection spray to both sides of u pin.
- Set the flat iron to medium heat and press down for a few seconds and then to the next segment. Start working from the end of the pin towards the root.
- Let the hair cool down completely, and then remove the pins. Please do not use a brush to straighten the hair as it will frizz. If the crimp is too tight use fingers to loosen it.
By following these simple steps, you can comfortably learn how to crimp hair with a flat iron without visiting any salon. Using any of the two methods you will get your desired crimps.
